3D outcome: part 3
This day I needed to start the furniture, and decided to 3D print it.
I chose a test model, but it was too small for my model.


I marked a fitting circle size with a marker.

And cut it up into three circles that would be the table bases.

Now was the time to make tablecloth out of actual white cloth. I marked a bigger circle while having the "table" on the fabric.

Then I came up with the idea to fold the fabric into three, which is a smart way to cut up multiple pieces at once. But for it to not move and be precise I pinned it with a pin needle. This way I saved so much time by not marking every circle and cutting it up.

Now they were ready to be glued together.

I used a glue gun to glue them together, as well as create a fabric ripple effect to add realism.

Now it was time to make rugs and print out more decor.

I chose a variety of rugs to try on my design. I cut them up and tried on my base.

But didn't like them and printed out different ones together with 12 small rugs for seatings.
The next part of my design was the wall painting (that I wasn't able to find on HomeByMe).

I started the painting with the piece of wall I didn't glue and looked at Almaty from Kazakhstan's references of nature to create a painting.

This is the biggest mountain in Almaty - Alatau.

I wanted to make the painting a wall installation(a painting inside the wall) with a semi-oval opening and took another piece of thinner wood and painted it all white.

I waited till all of it will be dry and glued them. Then I felt like it was very empty and added Kazakh oyu ornaments on the bottom to add style.

When dry, I glued it to the base.
Now, I started making details such as wooden decor dividers, sandyq(chest) and dombra(Kazakh musical instrument).

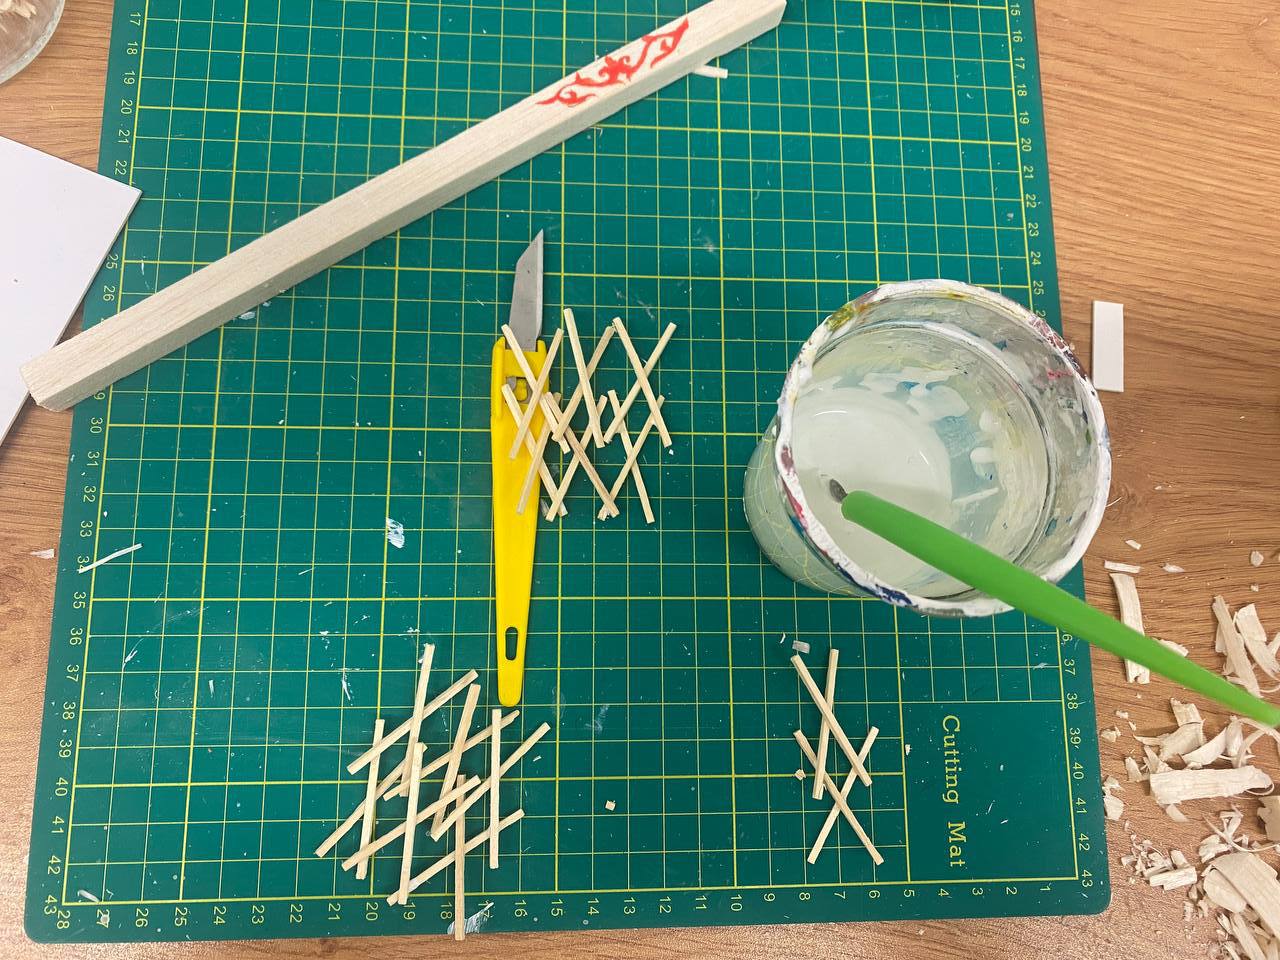
I took small and thin wood pieces and glued them in an x on x pattern to create what I wanted.

I cut off the dombra(Kazakh musical instrument) out of modeling/foam wood, which is actually one of my favorite materials to use since it is very easy to manipulate into various shapes. I also made sandyq(chest) from thesame material and they were ready to paint and be put on display.

I started gluing everything that was dry on my model.


Now I was almost done with my project. The following are pictures of my 3D model.


I had a lot of fun making this and enjoyed every bit, especially putting in my own artwork in the form of a paintin rather than painting it really makes me feel like this is my creation. I think I could've added mor details and changed the wall colour to a warmer white.


Okay you have created a 3D model - make sure you photograph this well - It could have been more detailed and I think starting this earlier would have helped - I am hoping that you have completed your design boards so you can just add the photographs of the outcomes
ReplyDelete